How to Calibrate Your Spreader to Apply Milorganite® Fertilizer
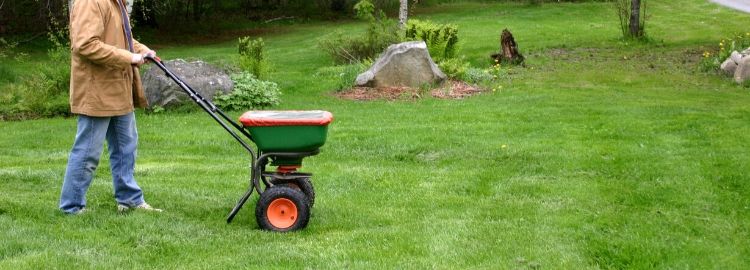
Get the best results by applying the correct amount of Milorganite to your lawn.
To do this, your lawn spreader needs to be accurately calibrated. As spreaders become older and worn, re-calibration ensures the best results.
Rest assured, you won't harm your lawn or the environment if your calculations or spreader settings are a bit off since Milorganite doesn't burn or leach.
How to Calibrate Your Spreader in Six Steps
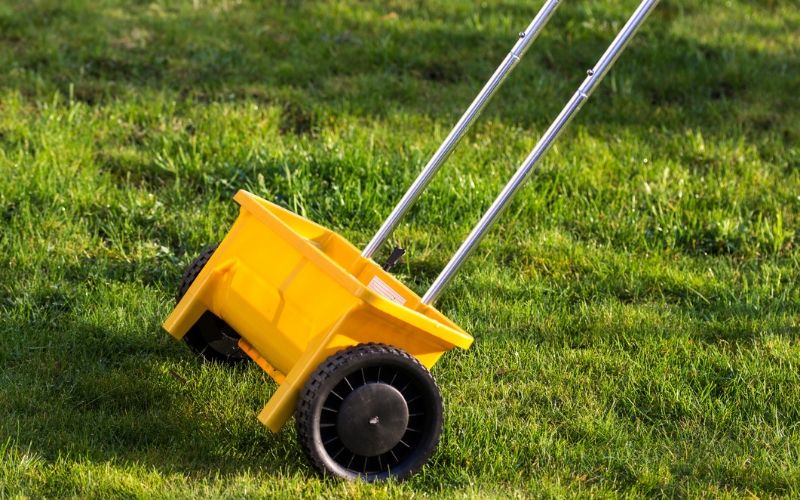
- Set your spreader so that the opening(s) in the bottom are ¾ open when engaged.
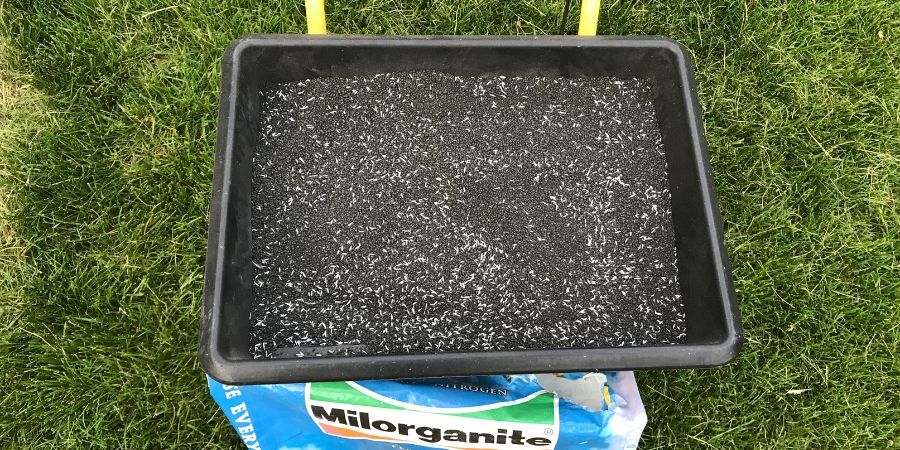
- Put 6.5 pounds or 1/5 of a bag of Milorganite into your spreader.
- Begin fertilizing your lawn, starting along an edge, and continue until the spreader is empty. Leave the spreader where it was when it ran out of Milorganite.
- Measure the area of the lawn you fertilized. You should have covered about 500 sq ft (20’ x 25’, 10’ x 50’, etc.). If so, skip steps 5 and 6 and continue fertilizing your lawn. If not, go to steps 5 or 6.
- If you covered much more than 500 sq ft, increase the size of the opening(s) in the bottom of the spreader and repeat steps 2-4 on an unfertilized lawn area.
- If you covered much less than 500 sq ft, decrease the size of the opening(s) in the bottom of the spreader and repeat steps 2-4 on an unfertilized lawn area
Spreader Tips
- Clean your spreader after each use.
- Follow manufacturers’ instructions as to lubrication, cleaning, and storage.
- With drop spreaders, overlap the wheel tracks. This helps ensure you don’t leave 2-3 inch non-covered strips between each pass. With rotary spreaders, overlap the coverage.
- More fertilizer is applied nearer to the spreader than at the farthest reach of the pattern on most spreaders. Your spreader manual should give you tips on how far various types of fertilizer are thrown.
- Walk at an even pace. When you slow down or speed up, the amount of Milorganite applied will change. Slower speeds will increase rates and faster speeds will decrease rates.

